One simple way for a small business to create a mailing list and print a database is by using Microsoft Excel. Here are some simple steps for building and printing your mailing list in Excel:
Experian also has an easy-to-use small business mailing list builder tool. Once you’ve built your list, you can easily export it in Excel (or any other) format.
Step 1: Open Excel
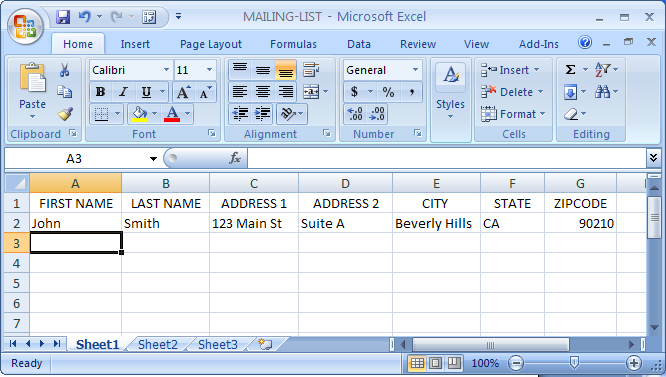
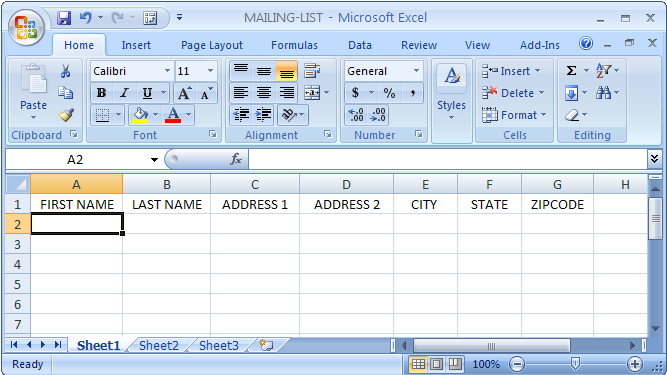
Step 2: Type the names of your data labels in the first row (e.g. First Name, Last Name, Address 1, Address 2, City, State, and Zipcode):
.
Step 3: Type or paste in your customer or lead list directly into Excel.
Step 4: Save your mailing list.
Step 5: Open a MS Word document
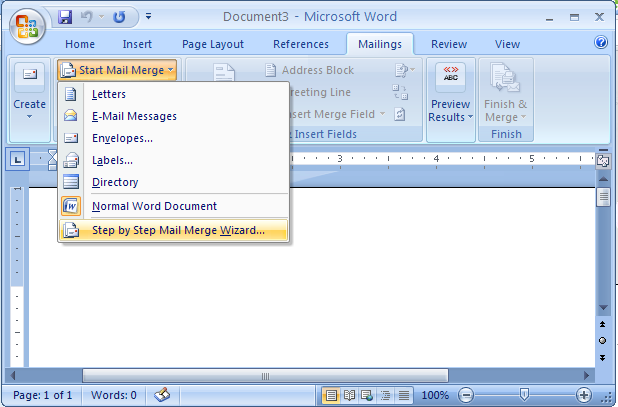
Step 6:Go to the Mailings Menu > Start Mail Merge >Step by Step Mail Merge Wizard
If you have an older version of MS Excel, you can access a similar wizard with this by selecting: Tools > Letters and Mailings > Mail Merge
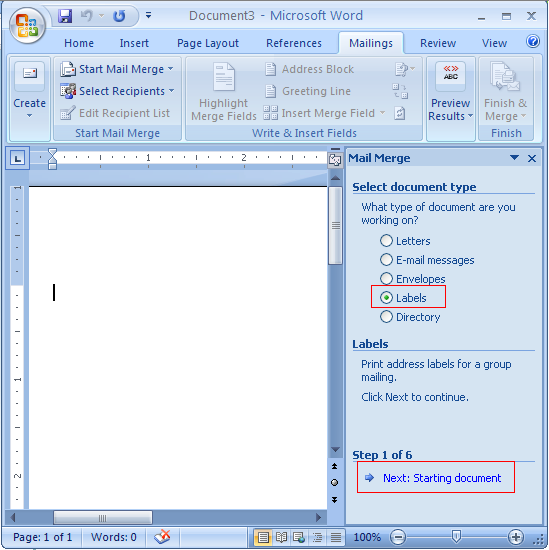
Step 7: Choose how you want to print your mailing list.
You can choose to print letters, envelopes, directory, etc. In this example, we will print address labels for a direct mail campaign so I’m selecting labels. After making a selection, click on “Next: Starting document” at the bottom.
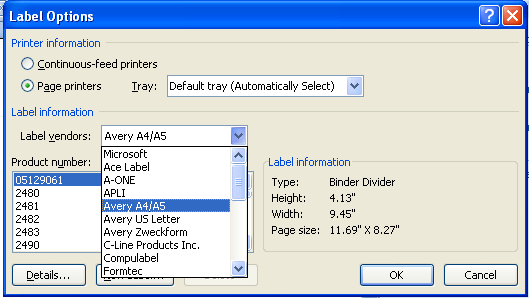
Step 8: Click on “Label Options”
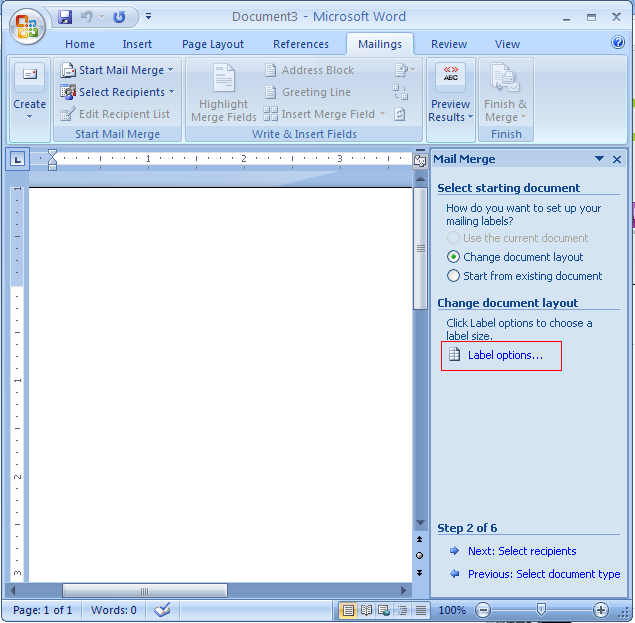
Step 8: Select the Label Vendor you will be using to print your labels.
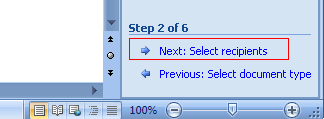
Step 9: Click on “Select Recipients”
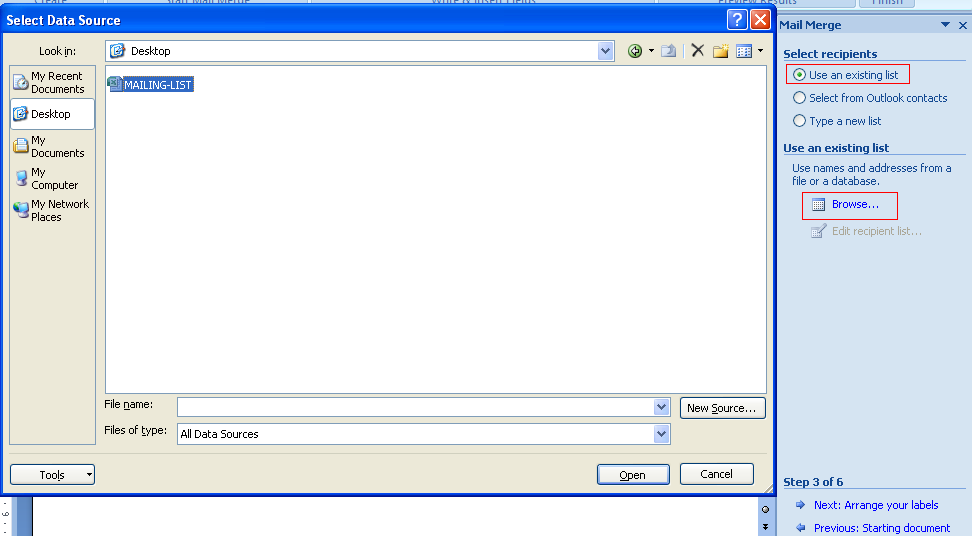
Step 10: Select “Browse” to find your mailing list excel spreadsheet.
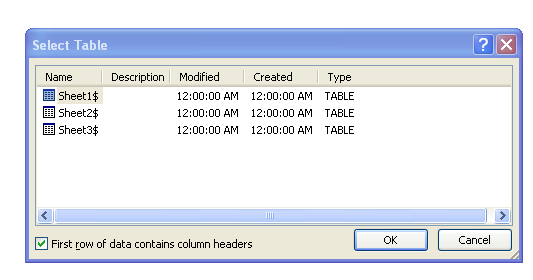
Step 11: Select “Ok” when you get the “Select Table” window.
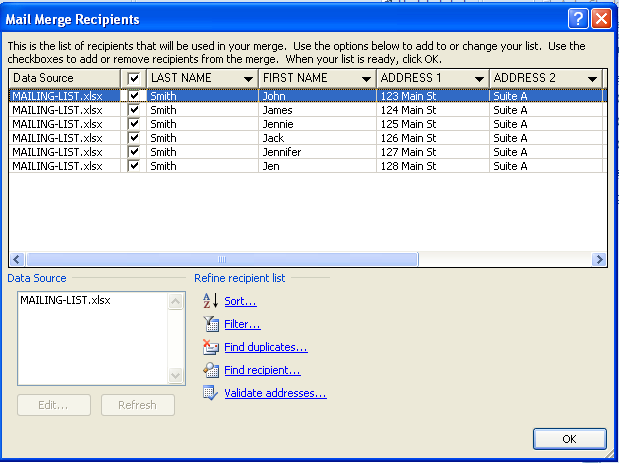
Step 12: You will get an option to remove anyone on your mailing list that you don’t want to include — and then press OK.
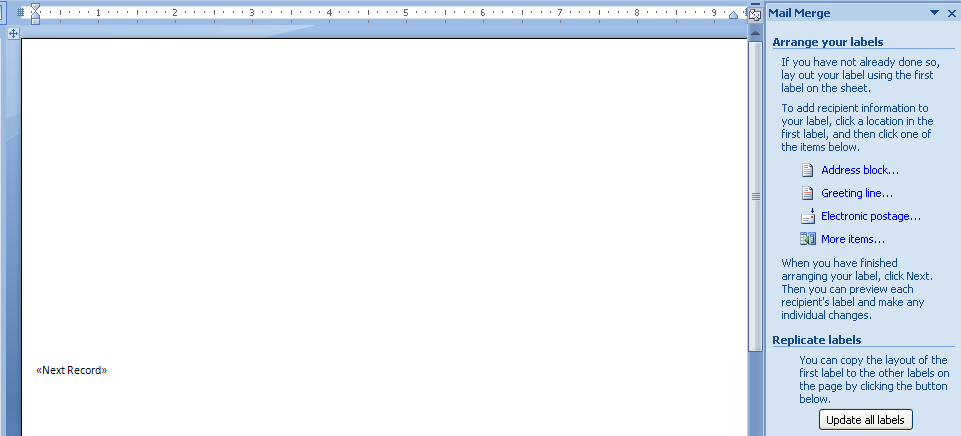
Step 13: Arrange your labels on the label or document you are working with.
Step 14: Save, Update All Labels, and Print.
